Manual simplicity or monitored electric vacuum? Look beyond the pump: the pad, cup count and included attachments change too.
Manual vacuum
PRO6
6″ pad · Three cups in the Install System
Electric vacuum
PRO7E
6.5″ VP7 pad · Four cups in the Install System
01 / The vacuum routine
Less manual pumping. Not less responsibility.
PRO6 — pump and monitor
The manual plunger creates the vacuum. Its red-line indicator gives the technician a visible vacuum-loss warning. There is no battery or charging routine.
PRO7E — powered monitoring and top-up
The electric pump creates the vacuum and responds to pressure loss with automatic top-up. It removes manual pumping from that task; it does not remove the need to check cup condition, seal and pump status.
The useful trade-off: fewer manual pump cycles versus a charging routine. Neither system makes a leaking or poorly seated cup acceptable.
Electric pump above; manual plunger below. Component illustration, not a service diagram.
PRO7E above; PRO6 below. Illustrations are not to scale.
02 / The contact footprint
A larger pad is a real hardware difference.
PRO7E’s 6.5″ WRD-VP7 rubber pad gives it a broader footprint than the PRO6’s 6″ pad. VP7 is designed for the electric pump—not simply the old cup with a battery added.
Think about the glass contact area
The pad needs a suitable sealing surface. Check the intended contact area and the complete attachment geometry for the job, rather than choosing by glass size alone.
Vacuum is not leverage protection. A larger pad and automatic top-up do not authorize twisting, prying or overloading the cup. Neither feature establishes a system load rating.
03 / The complete installation kit
Three cups or four is only half the story.
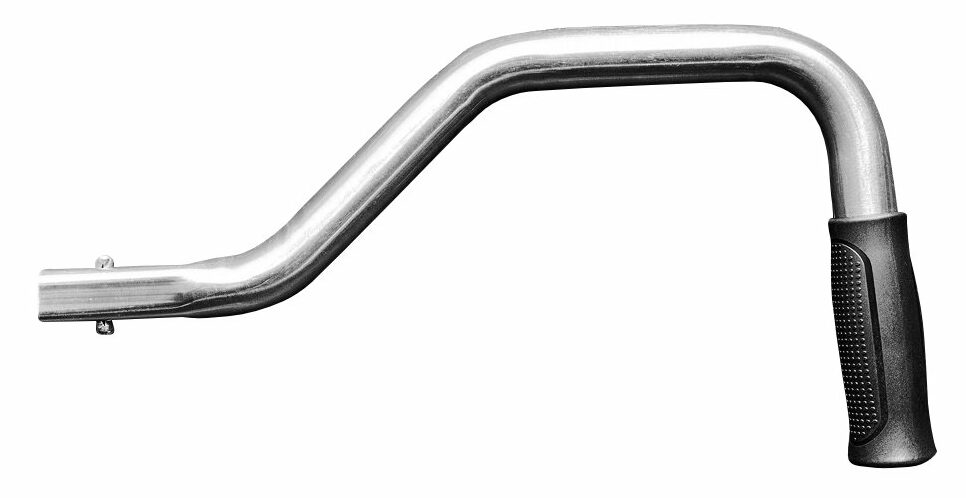
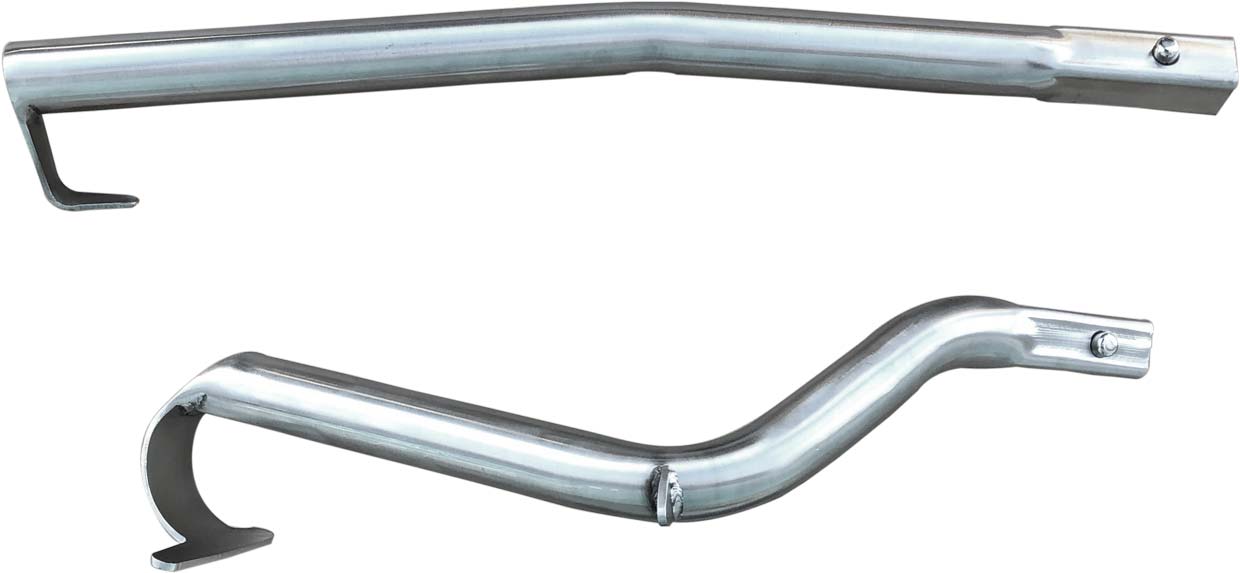
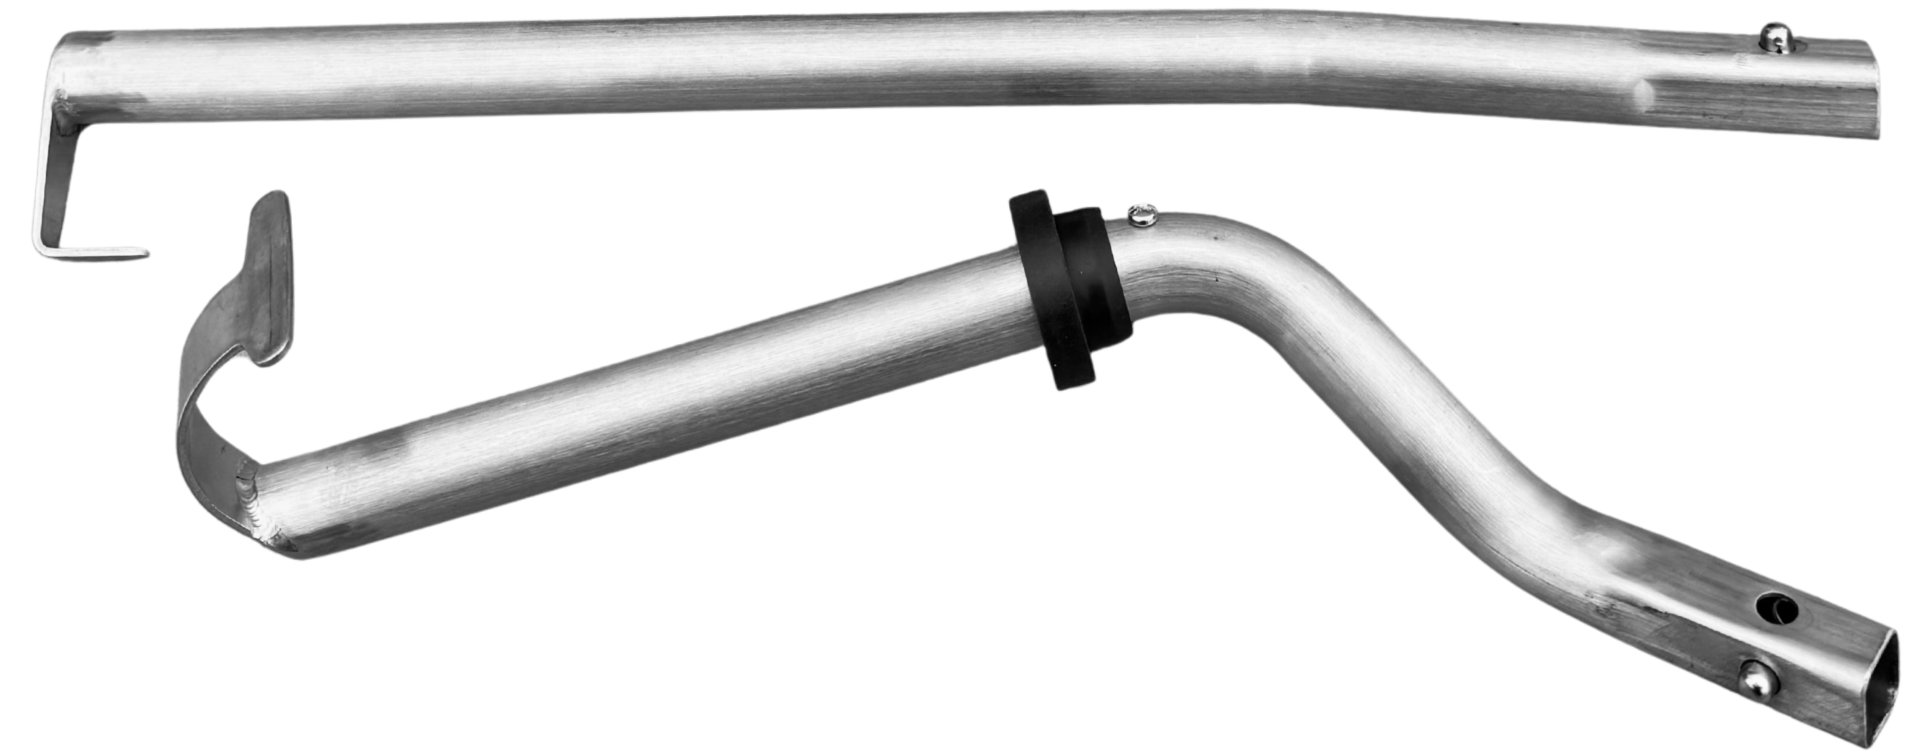
The current PRO6 Install System includes an Extended Arm and Double Hook. The PRO7E Install System instead includes a Long Double Hook. Compare the actual packages—not just a pair of individual cups.
Four electric cups in WRD-PRO7E-IS. Quantity illustration—not a placement pattern.
Current Install System packages · included components
Included
PRO6-IS
PRO7E-IS
Handling cups
3 × PRO6 Base Manual vacuum
4 × PRO7E Electric vacuum
Extended Arm
Included · PRO6-EA
Not included
Double Hook
Included · PRO6-DH
Not included
Long Double Hook
Not included
Included · PRO6-LDH
Tote & instructions
Included
Included
Four supplied cups provide an additional support point to configure according to the instructions. Cup count alone does not prove a higher load limit, prevent glass flex or make every roof panel suitable.
04 / Keep useful hardware
Already own PRO6? Start with the attachments.
PRO7E’s Quick Slot attachment path works with PRO6 arms and hooks. That makes the individual electric cup worth considering alongside the complete kit—but attachment compatibility and kit inclusion are different questions.
If you already own suitable PRO6 arms and hooks, review the individual PRO7E electric cup before duplicating equipment. This is an attachment-reuse path, not a claim that a pump swap converts any PRO6 cup.
Identify what you own. Check exact attachment names and condition.
Separate reach from capacity. The Long Double Hook adds a little reach over the regular hook; it is not a higher-load guarantee.
Check the complete setup. Shared attachment fit does not approve every mixed-cup arrangement or make pads and pumps universally interchangeable.
The practical choice
Choose your vacuum routine and your kit.
PRO6: battery-free handling
Choose manual vacuum if you value mechanical simplicity and want the three-cup kit with both the Extended Arm and regular Double Hook. Monitoring the red-line indicator is part of the routine.
Choose electric vacuum if reducing manual pump cycles matters to you, and you want the larger-pad, four-cup package with the Long Double Hook. Plan for charging and continued status checks.
Check the glass and pad for contamination or damage before use. If the cup cannot establish or retain its hold, stop and resolve the cause.
Follow the pump’s instructions
PRO6 needs indicator checks; PRO7E needs charge and status checks. Use the specified service procedure rather than guessing at lubricants or internal repairs.
Plan the set, not just the suction
Confirm the approved setup, attachment condition and applicable load limits. One-person setting capability is not permission to handle every panel alone.
Scope, sources & operating instructions
This compares WRD-PRO6-IS and WRD-PRO7E-IS, not historical PRO6 removal or 3-in-1 kits. Cup counts and attachments follow the current kit records linked above; individual cup and attachment pages establish the component choices.
The available PRO6 manual (PDF) also covers older removal configurations. Use its installation section and confirm the instructions for your exact kit. Obtain current PRO7E operating instructions from WRD support before use.
No comparative load rating, runtime, injury-prevention or ADAS-calibration claim is made here. Published PRO7E cup and EPX battery figures conflict, so battery capacity and runtime are intentionally not used to rank these systems.